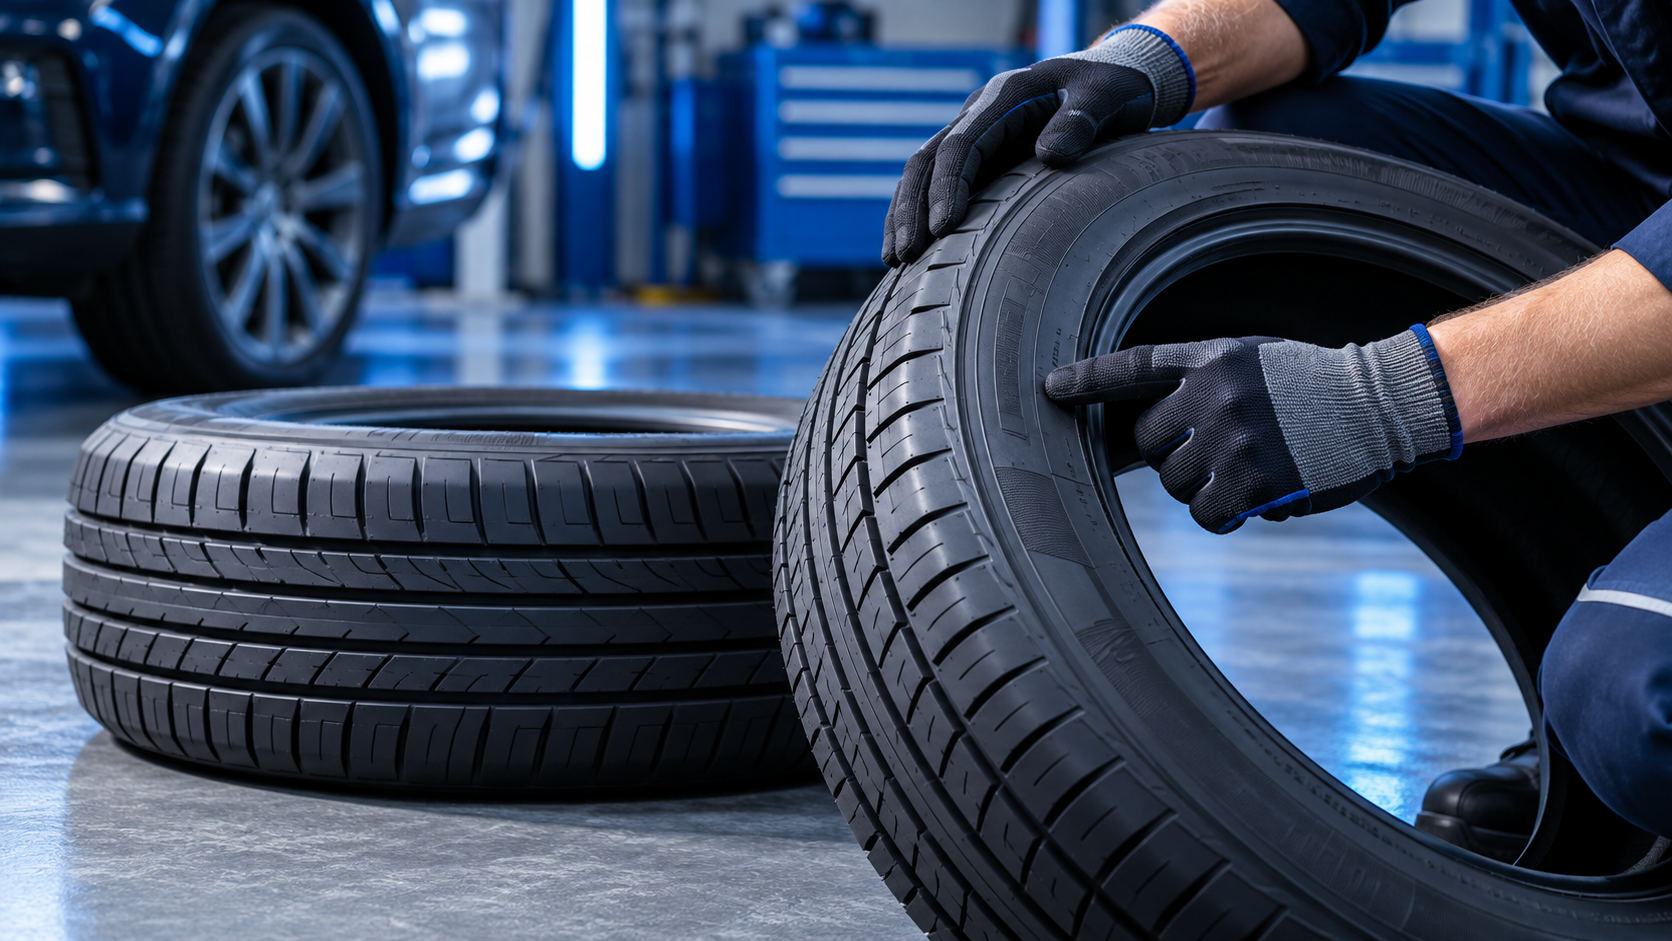
A tire’s sidewall carries practical details for choosing a replacement and checking its condition. The markings can look cryptic, and the largest pressure number is easy to misread. Use the information as a starting point, then confirm the required fitment in the vehicle’s door label or owner’s manual.
Start with the size listed for the vehicle
A size code such as 205/55R16 describes dimensions and construction. The first number is nominal section width in millimeters. The second is the sidewall height expressed as a percentage of width. “R” identifies radial construction, and the final number is the wheel diameter in inches. This is only one part of the specification. Load index and speed symbol also matter, and the manufacturer may approve more than one fitment for a particular trim.
Check the vehicle’s tire placard and owner’s manual before ordering. The placard may list the original tire size and the recommended cold inflation pressure. Do not choose a tire based only on whether it fits over the wheel. A different size or rating can change clearance, handling, speedometer readings, load capacity, and the way driver-assistance systems behave. Ask a qualified tire dealer to confirm any alternate fitment for the exact year and trim.
Understand the pressure and load markings
The maximum pressure molded into the tire sidewall is not the pressure to use for normal driving. Set inflation to the vehicle maker’s cold-pressure specification. The sidewall may also show a maximum load value. That number is not a recommended payload for the car; the vehicle’s own load limits and placard govern how much it can carry.
Look for the load index and speed symbol in the tire size line or nearby. These markings identify a tire’s standardized load and speed capability under specified conditions. A replacement should meet the vehicle manufacturer’s requirements. Do not fit a lower rating because a tire appears physically similar. If you are unsure how the markings apply, have a tire professional check them against the vehicle documentation.
Check tread, damage, and age
Inspect the full width of each tire’s tread. Built-in wear bars sit across the main grooves. When the tread is level with them, replacement is due. NHTSA identifies 2/32 inch as the minimum tread depth in the United States; legal limits differ by jurisdiction, and wet-weather performance can decline before a tire reaches the legal minimum. Use a tread-depth gauge at several points because wear can vary across the tire.
Look at the sidewall and tread for bulges, deep cuts, cracks, exposed cords, or an object lodged in the tire. A sidewall bulge can indicate internal damage. Do not try to patch a sidewall or continue driving on a tire with obvious structural damage. A tire shop can inspect it from the inside and advise whether repair is allowed. Vibration, unusual noise, repeated pressure loss, or a sudden change in handling also deserves an inspection.
To estimate a tire’s manufacturing date, find the final four digits of the DOT Tire Identification Number (TIN) on its sidewall. For tires made since 2000, the first two digits indicate the production week and the last two the year. A code ending in 1824, for example, indicates a tire made in week 18 of 2024. The complete date code may appear on only one side, so the inner sidewall may need to be checked by a professional.
Age alone does not give a universal replacement date. NHTSA notes that some vehicle and tire makers recommend replacing tires within six to ten years, regardless of tread depth. Check the recommendations for your vehicle and tire brand, especially if a car is stored or driven infrequently. A clean-looking tire can still have age-related deterioration.
Compare replacement tires on the details
Begin with the approved size, load index, and speed symbol. Then compare wet traction, winter capability, noise, expected tread life, and the kind of roads you use. Tire labels and rating systems differ among markets. In the United States, the Uniform Tire Quality Grading system provides certain comparative information for passenger tires, but it does not cover every performance characteristic or predict an exact service life. Read what each label measures before using it to rank tires.
Replacing all four tires together can maintain consistent grip, but a single replacement may be needed after damage. If you replace fewer than four, ask a tire professional which axle should receive the newer tires and whether the existing tires are compatible. All-wheel-drive systems can have strict limits on differences in circumference. Follow the vehicle manufacturer’s procedure.
Do not overlook the spare
A spare can age while the other tires are used. Check its pressure and condition according to the manual. A compact temporary spare is intended for limited emergency use, with speed and distance restrictions. A full-size spare should match the vehicle’s approved specification. NHTSA advises against using an aged full-size spare as a routine replacement for worn tires.
After fitting new tires, have them balanced and the wheel fasteners tightened to the specified torque. Ask whether the TPMS sensors need service or calibration. Our monthly tire pressure checklist covers routine inflation and visual checks. NHTSA’s TireWise resource includes tire labeling, age, maintenance, and recall information.
Leave a Reply