Correct tire pressure affects how a vehicle steers, brakes, and wears its tires. A tire can look normal while it is low, so a quick glance is no substitute for a gauge. A monthly check takes only a few minutes and can help catch a slow leak before it becomes a roadside problem.
Find the pressure specified for your car
Use the tire and loading information label on the driver-side door area or the owner’s manual. The correct cold pressure is set by the vehicle maker for that car and its tire fitment. The number molded on a tire’s sidewall is its maximum permitted pressure, not the vehicle’s recommended setting. Some cars specify different pressures for the front and rear tires or for a fully loaded vehicle, so read the complete label.
Keep a small, accurate pressure gauge in the car. Digital and dial gauges both work when used as directed. If the car has a tire-pressure monitoring system (TPMS), treat its warning as a reason to inspect the tires. The system may warn only after pressure has fallen significantly; it does not replace routine gauge checks. Consult the manual if the TPMS needs to be reset after adjustment.
Measure when the tires are cold
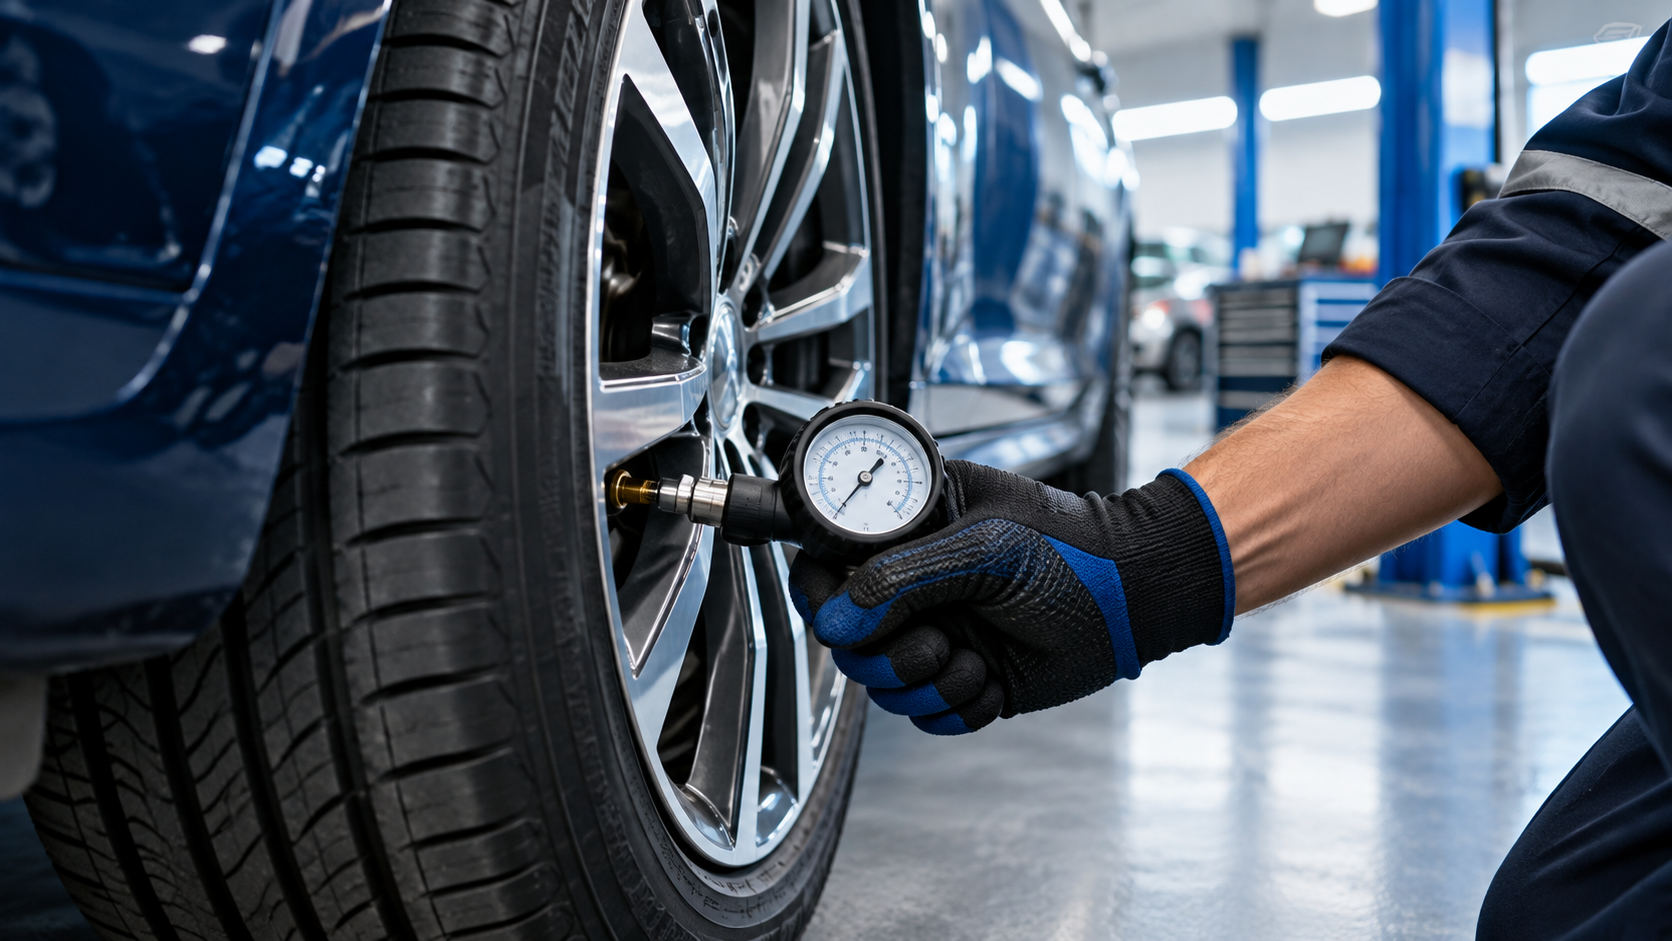
NHTSA describes a cold tire as one that has not been driven for at least three hours. Park on level ground, remove the valve cap, press the gauge squarely onto the valve stem, and record the reading. A brief hiss can occur as the gauge seals, but a sustained hiss means the gauge may not be seated. Repeat the reading if it looks implausible.
Compare each tire with the pressure for that wheel position. If you have driven recently, the tires will be warm and the measured pressure may be higher. Do not let air out of a warm tire just to match the cold-pressure figure. Recheck it after the vehicle has sat long enough to cool, then adjust to the label value. A cold reading is especially useful when temperatures change sharply between seasons.
Add or release air in small steps
If a tire is low, add air with a compressor and recheck with your gauge. Many service-station inflators have their own gauge, but readings can vary, so verify the result. Add air in short bursts to avoid overshooting. If pressure is high, use the gauge’s release valve or press the valve core briefly, then measure again. Replace the valve cap when finished; it helps keep dirt and moisture away from the valve.
Check all four road tires, even if only one warning appeared. Check a spare as well if your car carries one and the manual provides its pressure. Some temporary spares use a different, higher pressure and are intended for limited use. If the vehicle has different front and rear specifications, follow each value rather than making all tires match.
Look for damage and pressure loss
While you are beside each wheel, scan the tread and sidewall for cuts, cracks, bulges, embedded objects, or exposed cords. Do not pull out a nail or screw; removing it can release air quickly. Arrange a tire-service inspection. A bulge, a sudden pressure drop, or visible structural damage needs prompt attention. If the tire is losing air rapidly or the car feels unstable, stop in a safe place and arrange help.
Note the readings over time. If one tire repeatedly needs air, it may have a puncture, a damaged valve, or a sealing problem at the wheel. Do not keep topping it up indefinitely. Ask a tire professional to identify the cause and inspect the inside of the tire before repair. A repair may be possible only when the damage and its location meet recognized repair limits.
Use wear patterns as a clue
Uneven wear can point to pressure, alignment, suspension, or rotation issues. Wear concentrated on both shoulders can accompany underinflation; wear concentrated in the center can accompany overinflation, but the pattern alone does not prove the cause. Photograph the tread and ask a technician to inspect it. Follow the vehicle manual for rotation intervals and patterns, since some cars have staggered tire sizes or directional tires that cannot be rotated in every position.
For a fuller routine, inspect tread depth and age as well as pressure. Our tire replacement guide explains tread indicators, sidewall information, and signs that call for professional attention.
A practical monthly routine
- Check pressure when the tires are cold, using the vehicle label or manual.
- Measure every road tire and the spare if fitted.
- Adjust each tire to its specified pressure and replace the valve cap.
- Look for visible damage, uneven wear, and objects in the tread.
- Arrange an inspection if a tire loses pressure repeatedly or shows damage.
Check again before a long drive if the tires have not been inspected recently. Load and pressure instructions can vary by vehicle, so use the manual when carrying a heavy load or towing. For safety and maintenance details, see NHTSA’s TireWise guidance.
Leave a Reply